Injection moulding is becoming increasingly popular in the construction, engineering and manufacturing industries. Due to its versatility, endless advantages, high-quality finish and straightforward process, injection moulding has become a worldwide technique which many companies are eager to invest in. The process of injection moulding has come a long way. In 1872, the first ever injection moulding machine was created, now filled with modern advances and high-tech stationary.
Injection Moulding Process
March 21, 2022
By Annie Everill
What is the process of injection moulding?
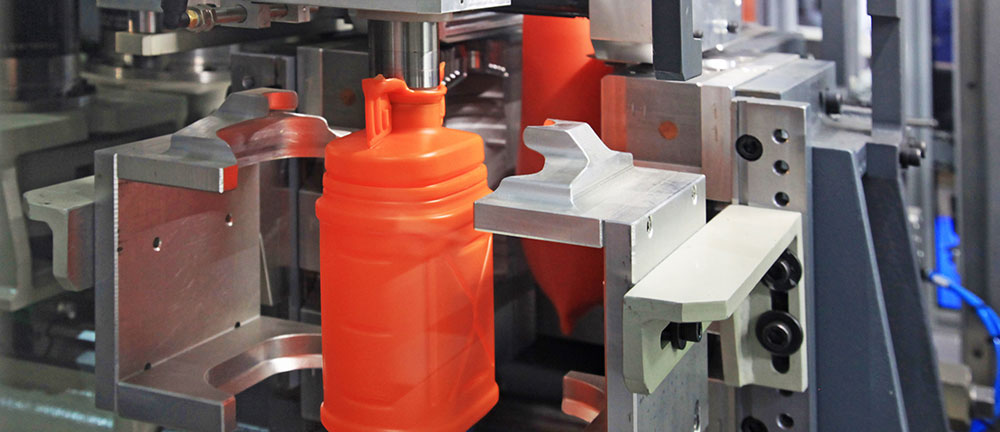
Injection moulding is where a high pressure polymer is injected into a mould to be shaped and formed into a desired final structure. The individual parts of this process are quite simple, with the whole injection moulding process ranging from 2 seconds to 2 minutes. There are four stages present in this process including clamping, injection, cooling and ejection.
A step by step guide to injection moulding
Product design
Design is one of the most important steps when it comes to any production process. Design is implemented in terms of function, aesthetics, manufacturing and assembly. Planning and creating a successful design plan is key in avoiding mistakes and forming a straightforward, successful process.
Mould design
One the exterior design is complete, the mould structure needs to be designed prior to the injection moulding method. Mould design is another opportunity to prevent mistakes further down the line and prepare for the upcoming steps. Moulds and the injection moulding tool are commonly made from these materials…
- Hardened steel
- Pre-hardened steel
- Aluminium
- Beryllium-copper alloy
Clamping
Before the mould is injected with a raw material, both halves of the mould have to be securely closed through a clamping unit. These halves are then attached to an injection moulding machine and one half can slide. The chosen material is then injected while the clamping unit pushes the halves together. Both halves are held together tightly as the material is injected.
Injection
Plastic pellets are fed through a hopper, into the injection moulding machine. These pellets travel towards the mould and the pressure begins to melt the pellets. Injection time can be estimated by different factors including injection pressure, power and shot volume.
Cooling
The cooling stage of injection moulding involves the plastic inside the mould beginning to cool down. As the plastic cools, it will create the desired shape. Once the cooling period has elapsed, the mould can be opened.
Judging from the wall thickness and the thermodynamic properties, the cooling time can be simply estimated.
Ejection
The last stage is that of ejection. This process is done through an ejection system in which the mould opens the part it is pushed out from. Force is used as the part shrinks and sticks to the mould. This will then be shut again and another shot can be injected, starting the injection moulding process once again.
Products made through injection moulding
Injection moulding has been around for years, and is definitely a method that will be seen for years to come. Used to create a variety of product types, injection moulding is typically found in public, in a home and around workplaces. Because this process can create duplicate objects in an efficient manner, it is ideal for a variety of industries and surroundings. Products created include:
- Household utensils
- Laptops and computers
- Childs toys
- Medical accessories
- Packaging
- Agriculture
- Automotive interiors and components
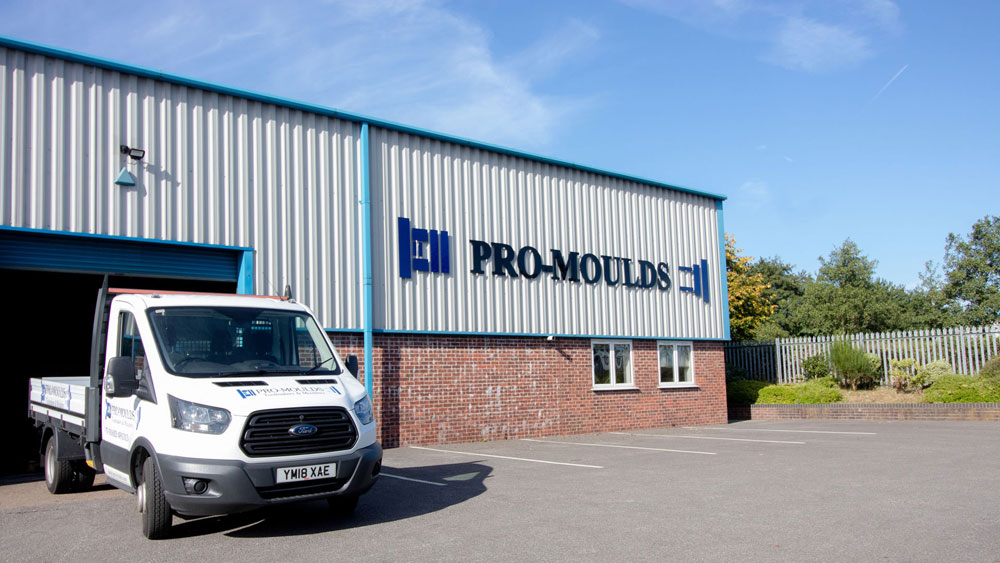
Injection moulding services in the UK
With over 20 years of experience in the injection moulding industry, Pro-Moulds take pride in manufacturing moulds with the highest quality finish. Pro Moulds also offer toolmaking, tool repair and laser welding services. Offering an extensive selection of equipment, the teams at Pro Moulds have worked with a variety of industries, helping businesses and communities meet their product goals.
Visit Our Machinery page for more information on equipment available or contact us on 01623 904 417 for any queries around the injection moulding services.